Changing a PDF into one or more images is easy on Mac. The built-in macOS Preview and Shortcuts apps, as well as third-party apps and websites, easily let you do this. This guide shows you how to convert a PDF into JPG or PNG.

Here’s how to use the Preview app to convert a PDF into an image on Mac:
1) Right-click a PDF and choose Open With > Preview.
2) From the left sidebar, select the PDF page you want to convert as an image.
3) Click File > Export.
4) Click the Format dropdown menu and choose HEIC, JPEG, JPEG-2000, or PNG.
5) Finally, click Save.
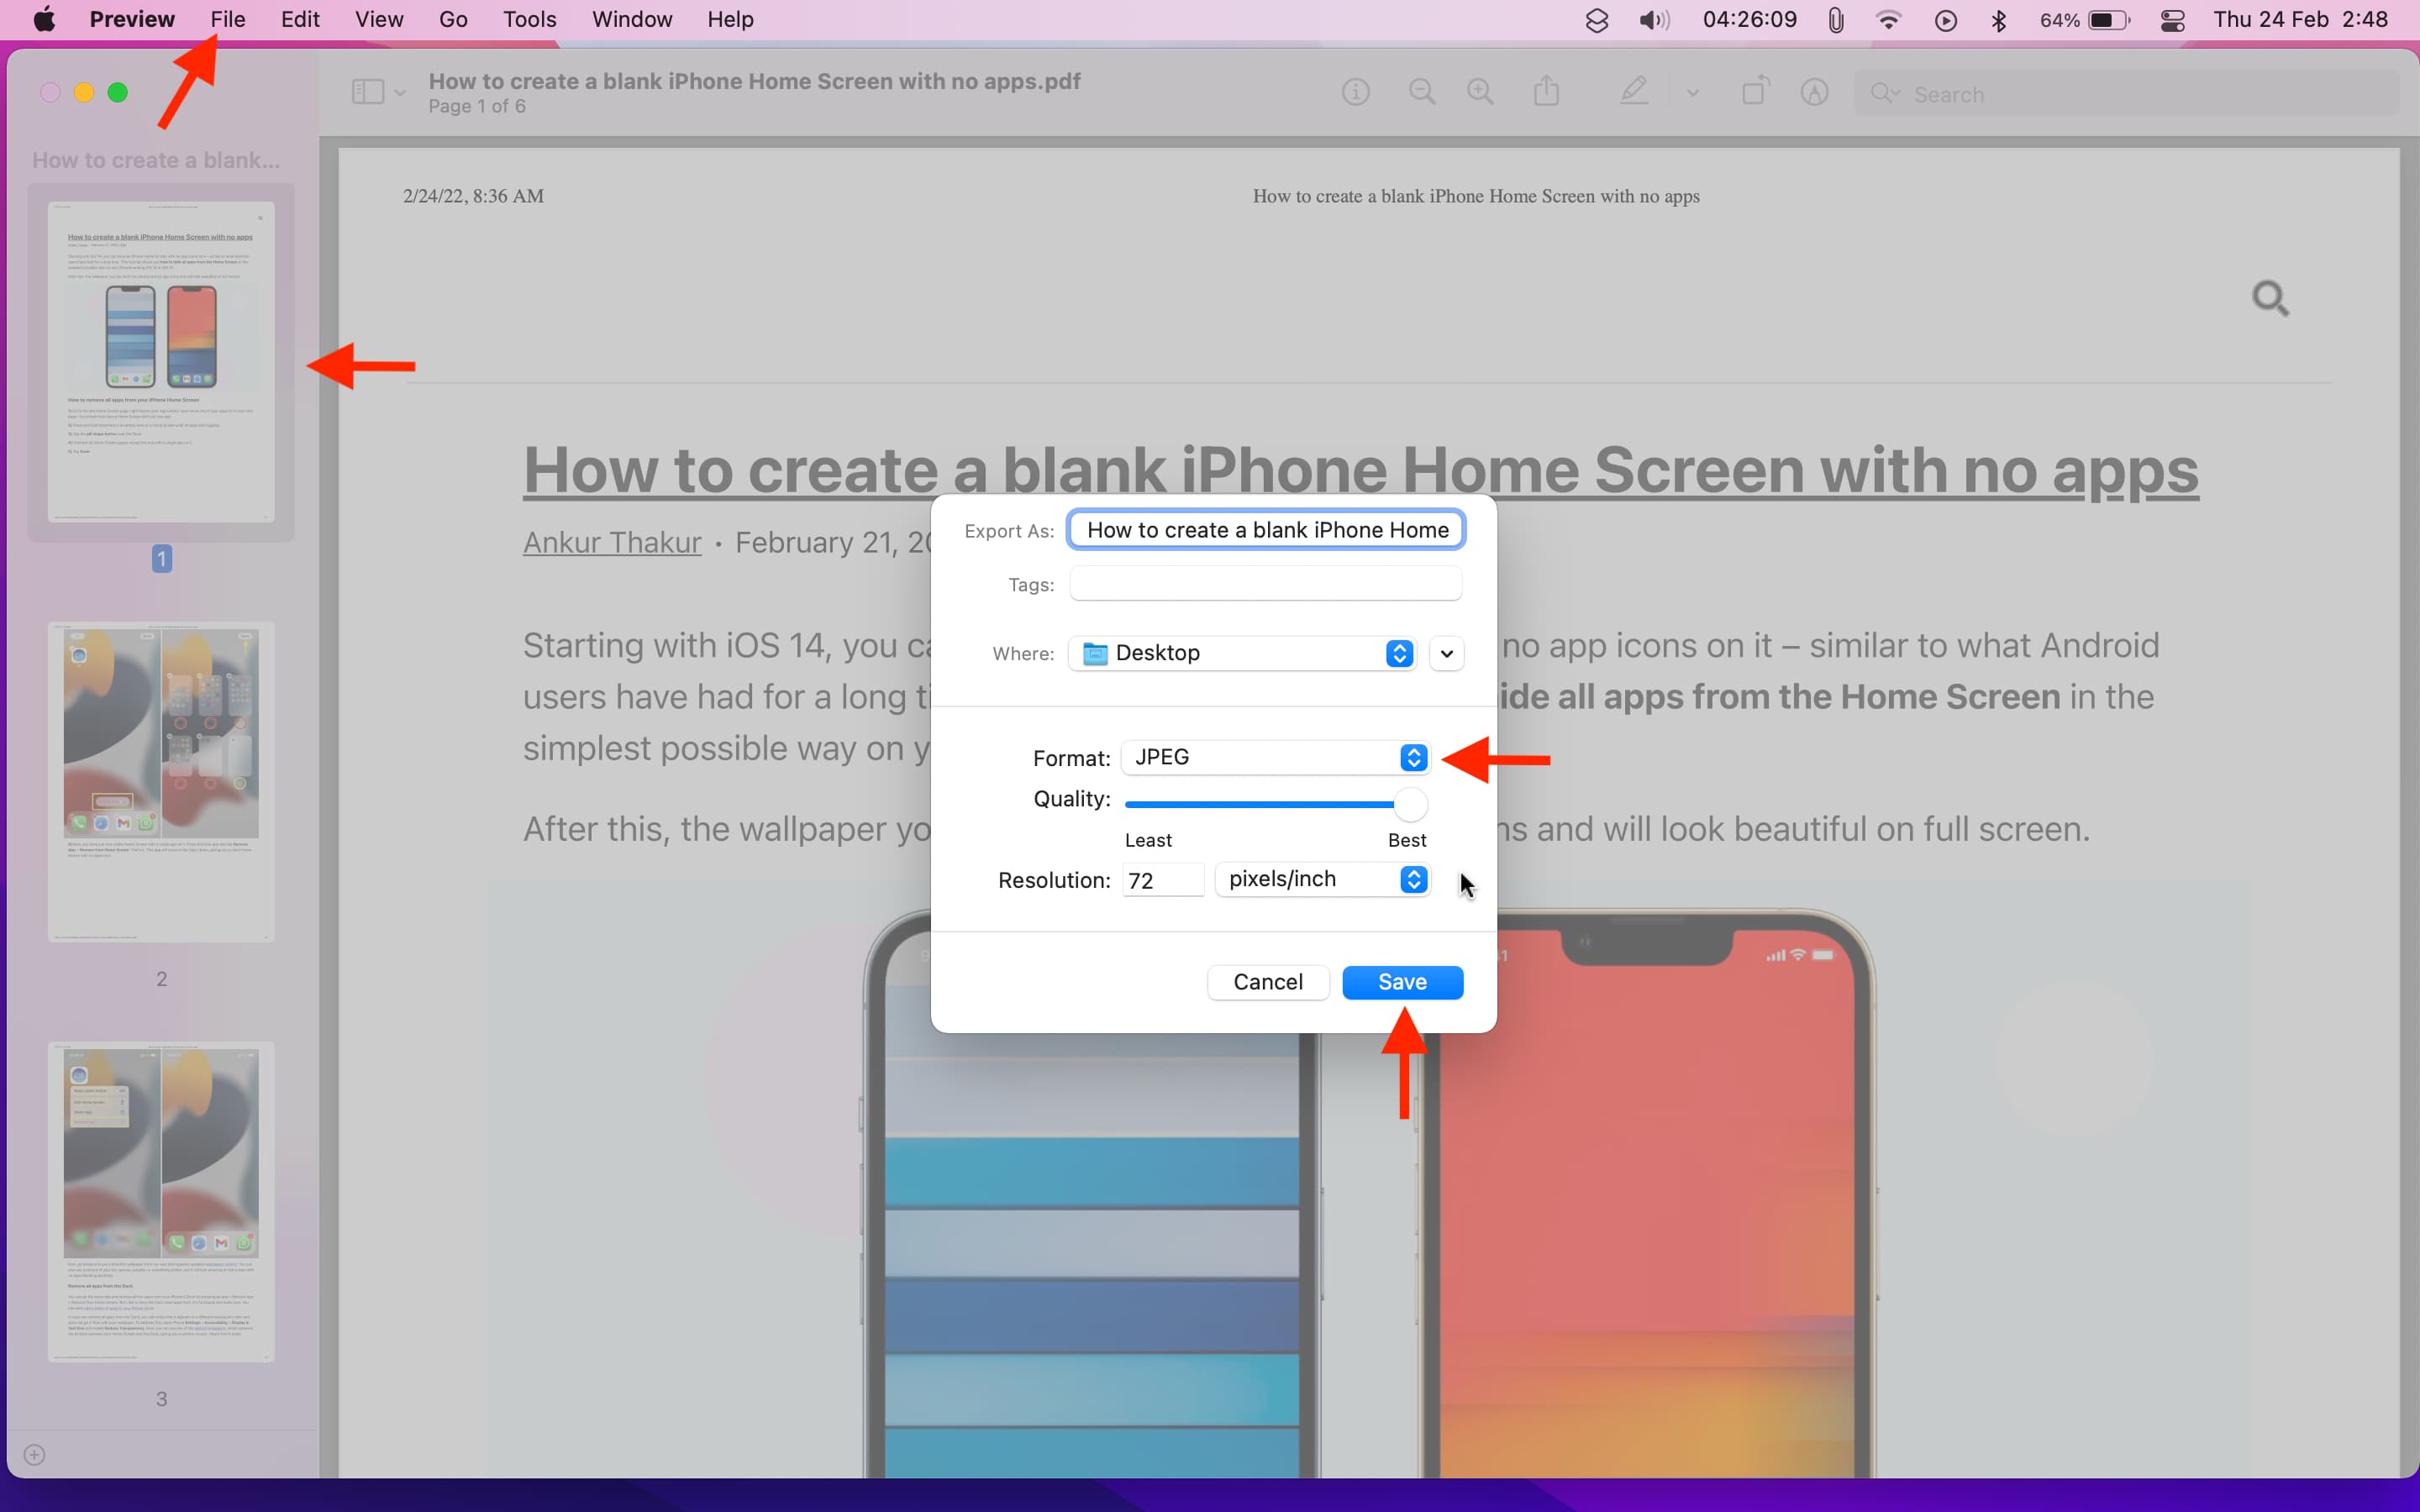
Important: This method doesn’t support exporting all or multiple PDF pages as several individual images. Watch this and read the video description to understand what happens when you select all the pages of the PDF and export them as PNG images.
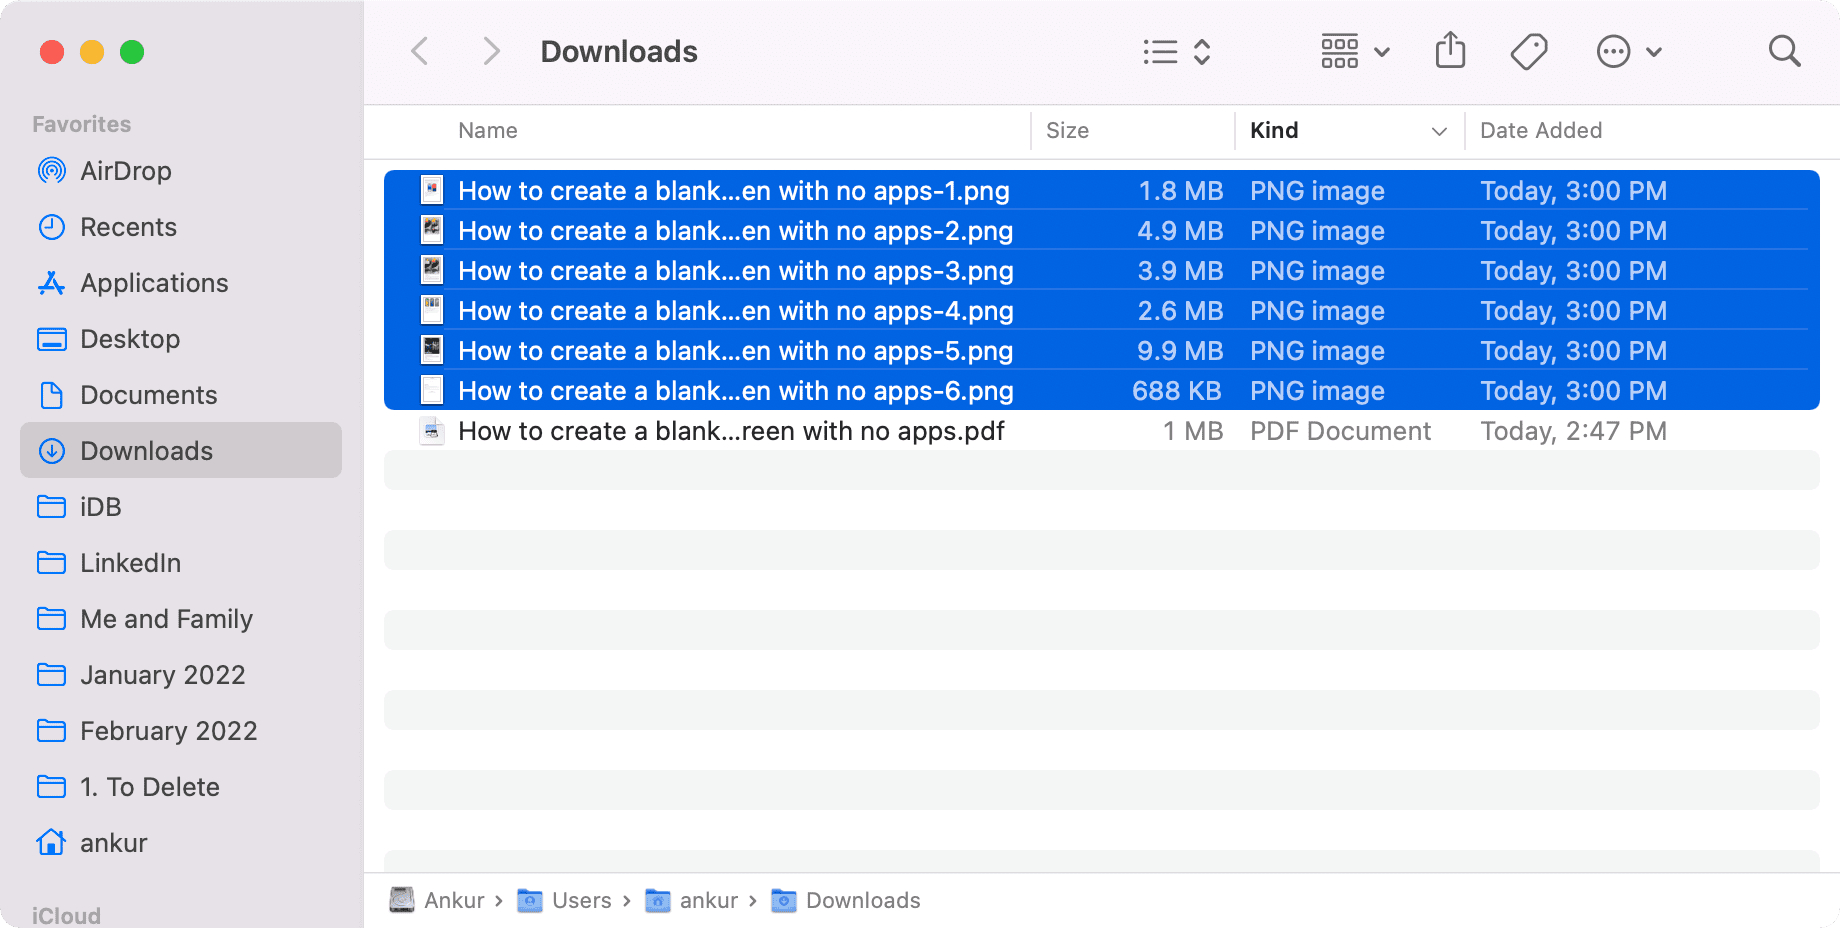
This method lets you convert all pages of a PDF into individual images.
Starting with macOS Monterey, the Mac has a Shortcuts app that lets you perform several actions quickly. Building a Siri shortcut to convert PDF to images is extremely easy. The steps below show you how.
1) Open the Shortcuts app and click the plus button.
2) Search for Make Image and double click Make Image from PDF Page to add it to the shortcut.
3) Optional: You can click the blue “PNG image” word and set it as JPEG or set it to Ask Each Time.
4) Click the blue “PDF” word and set it to Shortcut Input.
5) Recommended: Under If there’s no input, click the word “Continue” and choose Ask For > Files.
6) Type Save File in the search box on the top-right and add double click to add this action to the shortcut.
7) Click the settings icon from the top right and check Use as Quick Action. Below that, also check Finder and other services as desired.
8) Give your shortcut a name. You can also customize the icon.
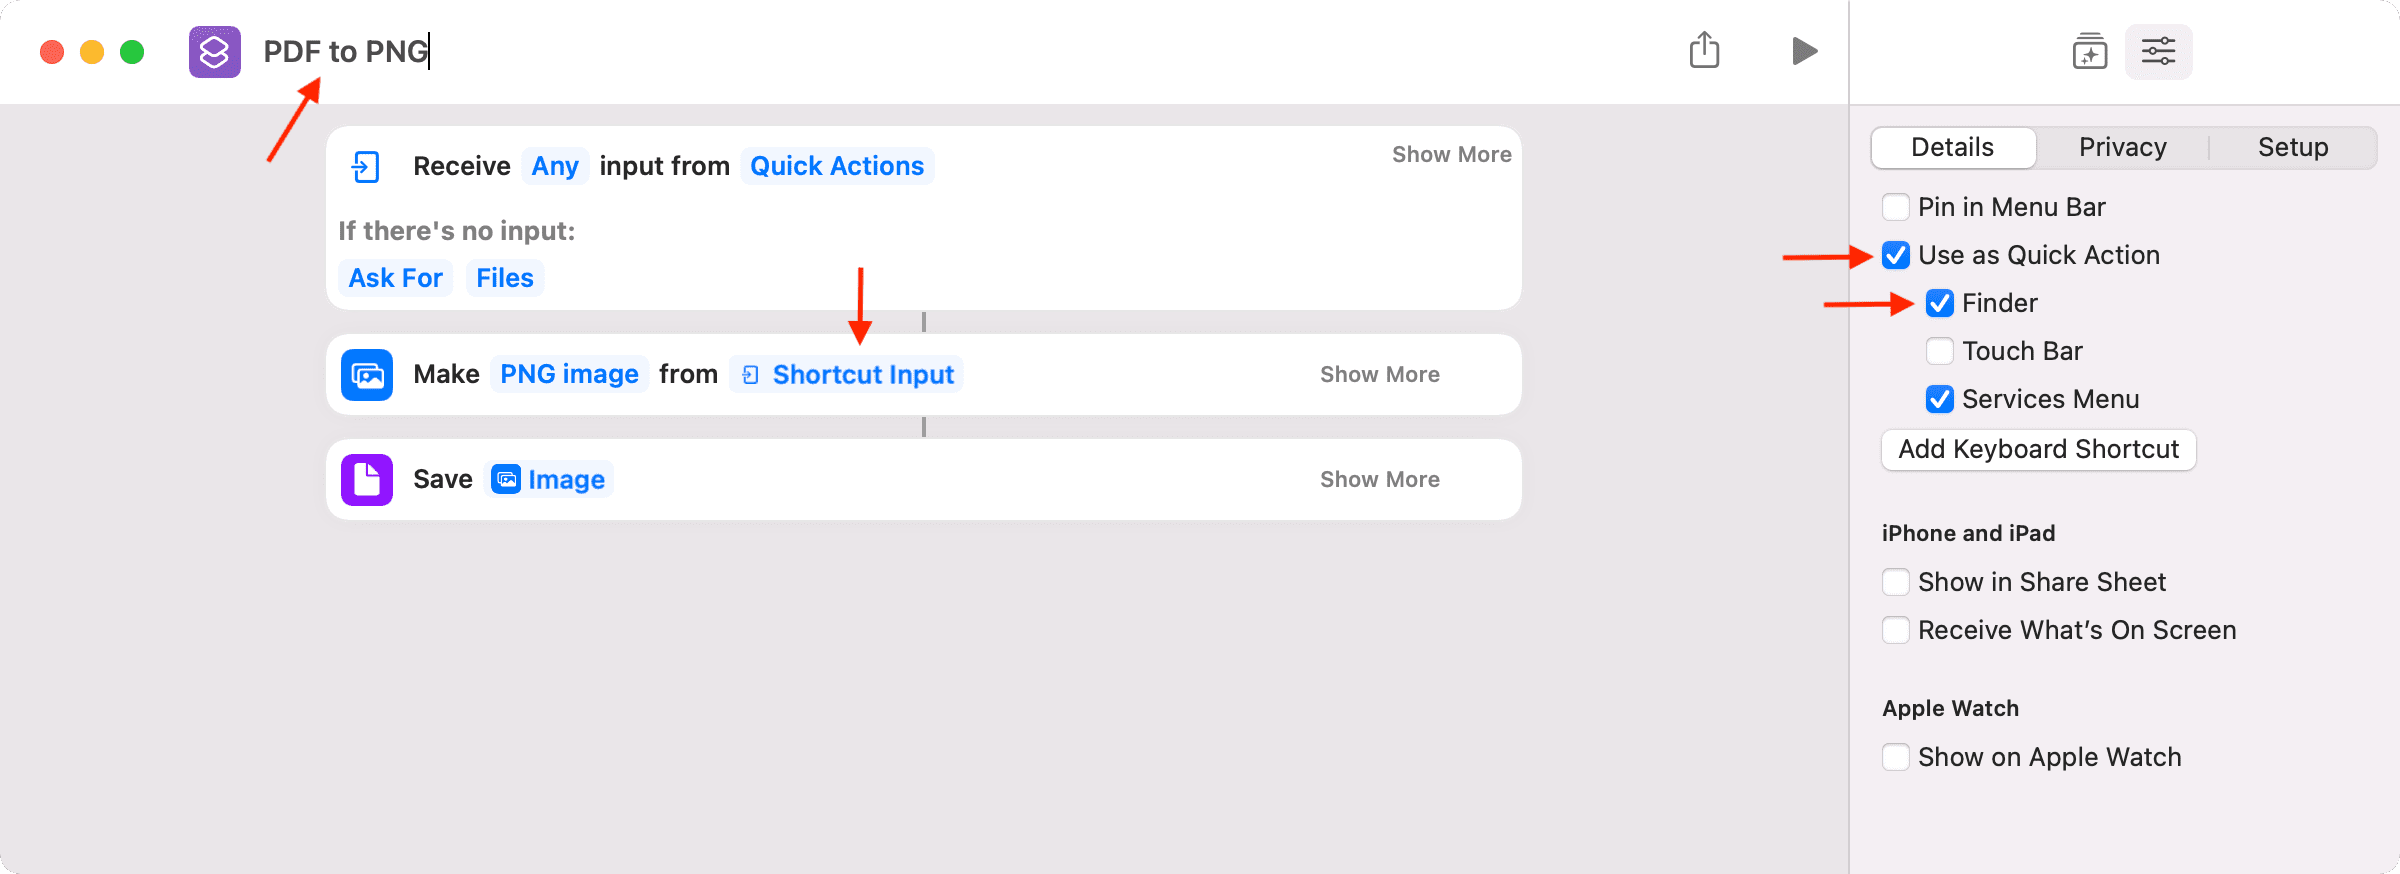
9) Finally, click the tiny red button to save and close the window. You have successfully built the shortcut to convert all pages of a PDF to images on Mac.
10) Right-click on a PDF in Finder and choose Quick Actions > Shortcut name. It’ll take a few seconds to process (Tip: When it’s processing, the Shortcut app icon in Mac’s menu bar will be solid). After that, choose a location to save the PDF pages as images and click Open.
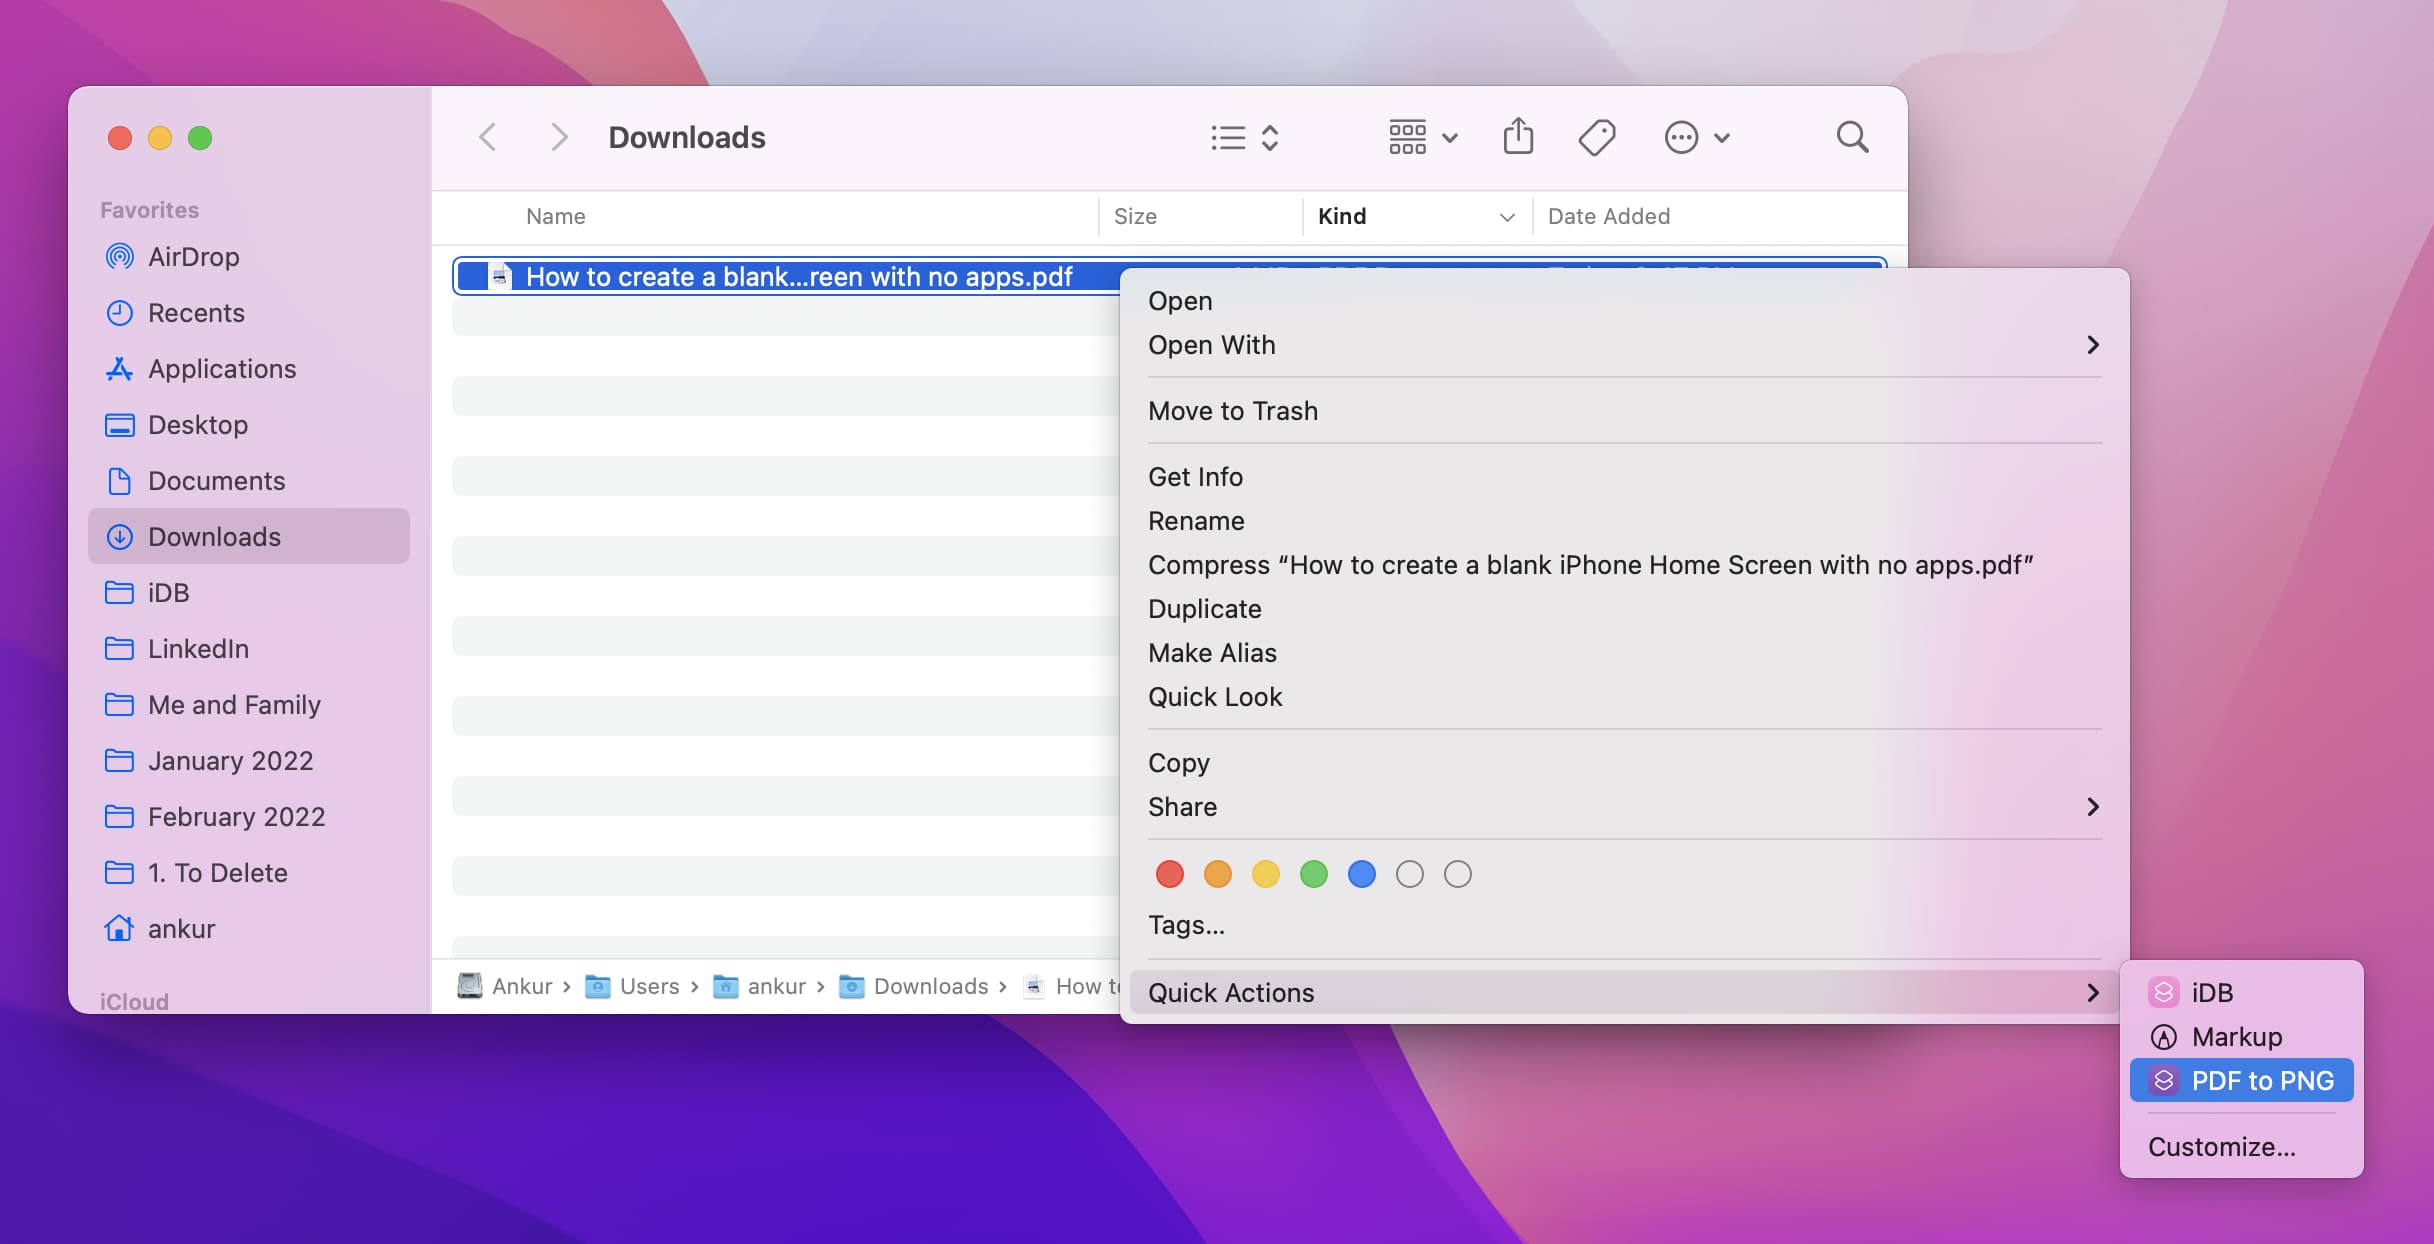
All the pages of the PDF will be saved as individual images.
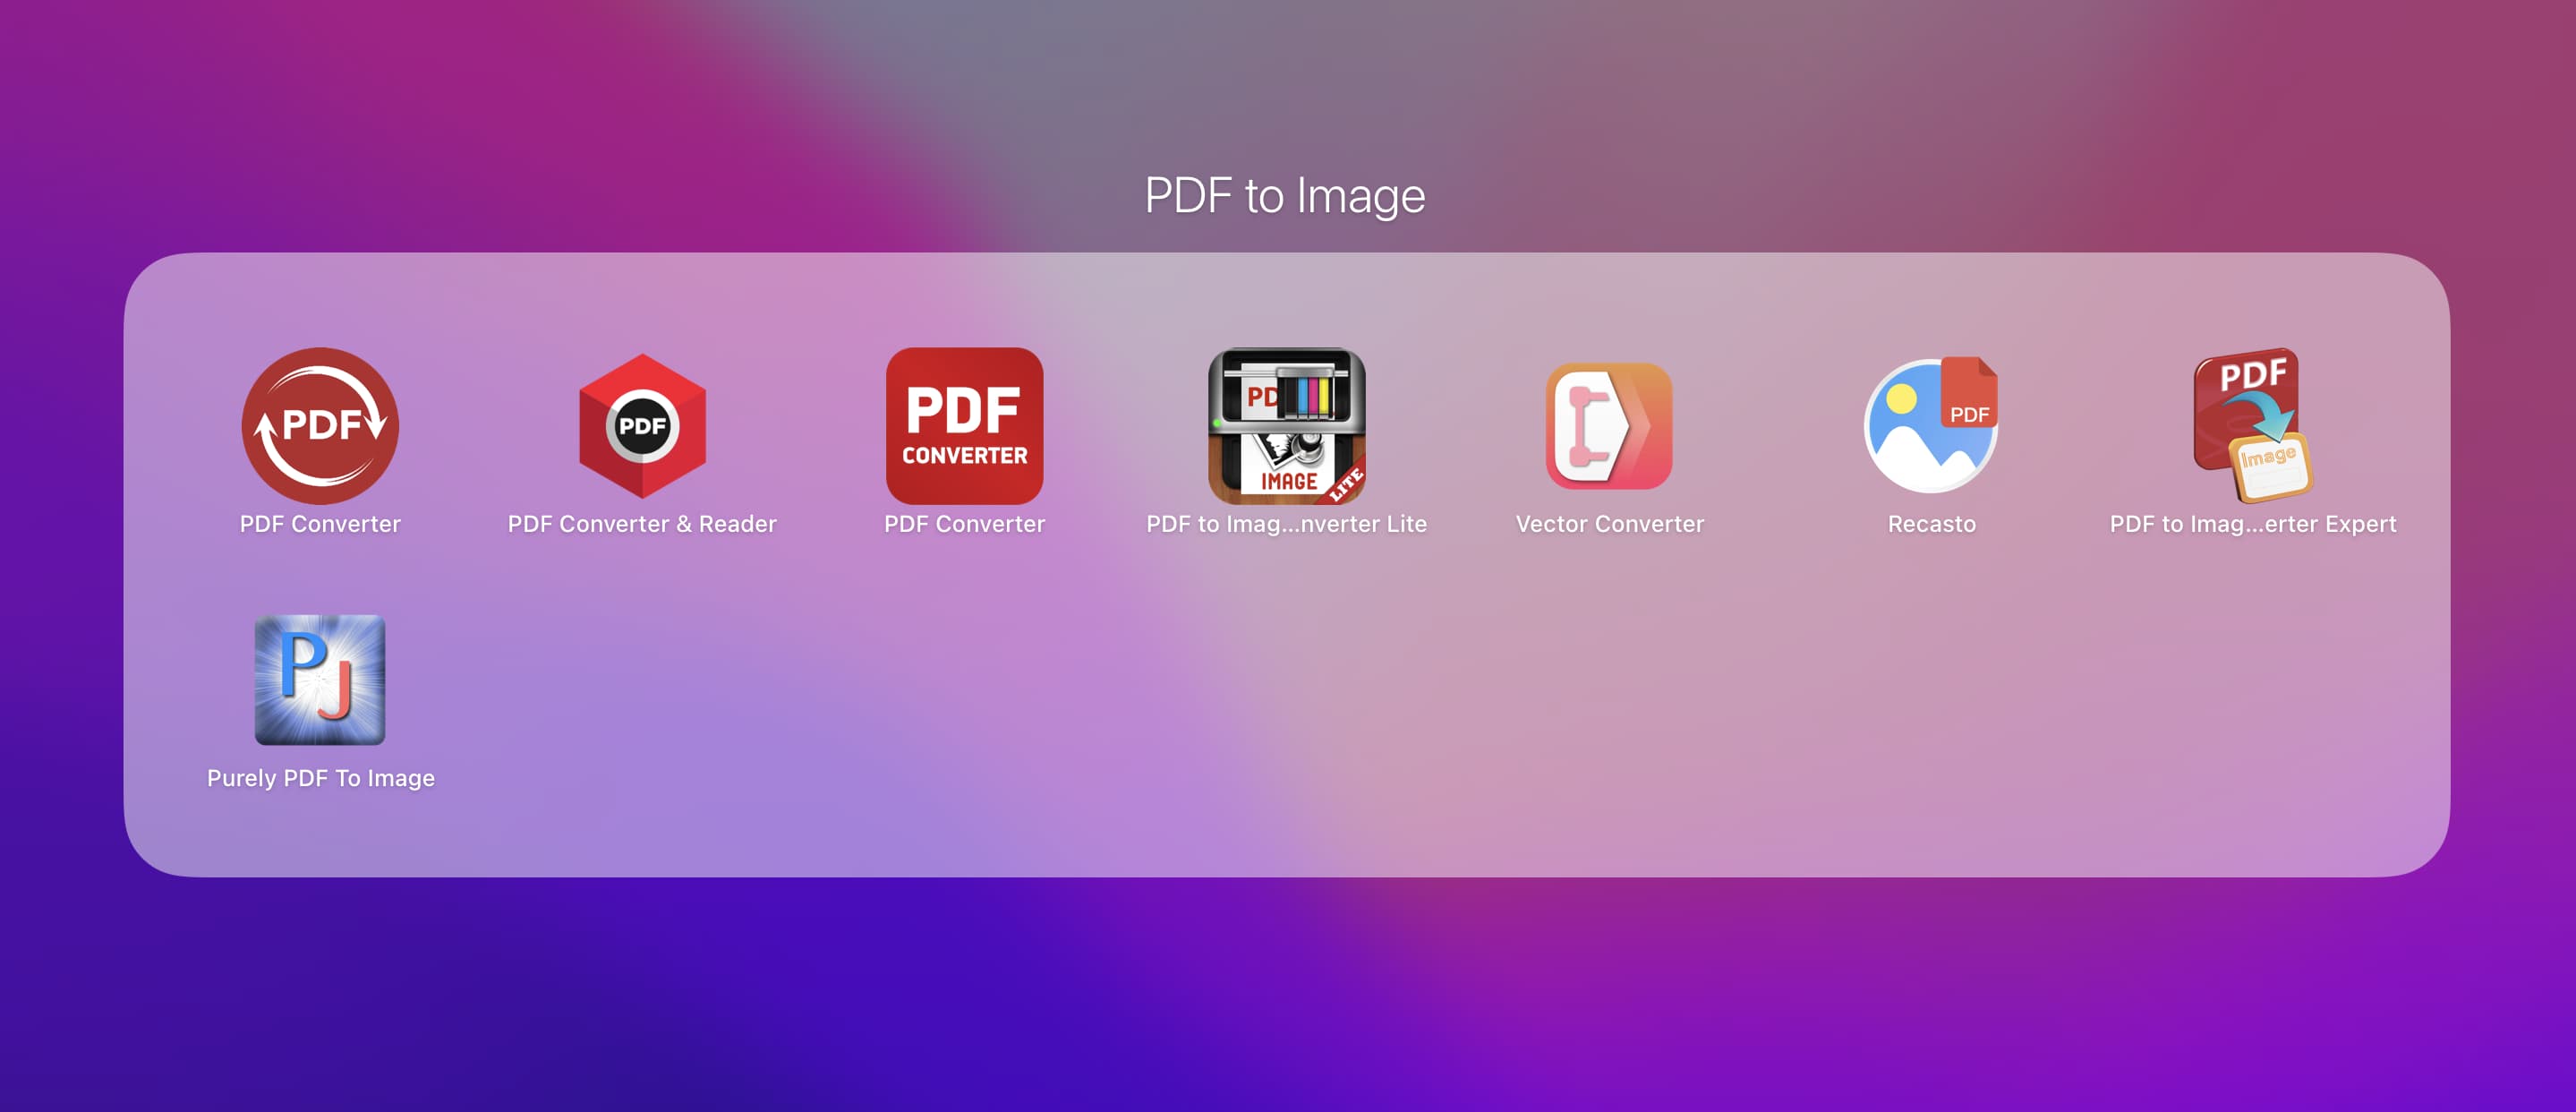
I tried over ten PDF apps and most well-rated apps to convert PDF to JPG or PNG images in the Mac App Store are free to download, but need a payment to work. Some also offer a trial period. If your work involves daily conversion of PDFs to image files, you can try the following apps:
Free to use without watermark
Need payment to work (but offer a free trial)
If a purchased app doesn’t work as intended, learn how to request a refund from Apple.
I’m sure you might have thought of this, but I have a tip to share.
When you press Command + Shift + 4 and select a page of the PDF to take a screenshot, the size of the various screenshots might differ as you may not be able to make the perfect area selection each time.
To address this, open a PDF in Preview and adjust the page by pressing Command + Plus (+) or Minus (-). You can also open Preview in full screen by clicking the tiny green button from the top left.
Once you have the PDF opened properly in full screen, press Command + Shift + 5 and use this method to select an area to take the screenshot. The good thing about this method is that if you have to take screenshots of several PDF pages, pressing Command + Shift + 5 will remember the screen area selection. So, all the screenshots you take will be of the same size.
I listed this way to convert PDF to images at the end because you’re uploading the PDF to the online servers of the website. If the PDF is sensitive, I use the methods mentioned above. But for all other general purposes, I have been using iLovePDF for the last four years. The site is great and offers several PDF editing tools, including converting a PDF to JPG or extracting the individual images inside a PDF.

Check out next: